
How to Add UPI QR Codes to Invoices and Collect Payments Safely
Configure the right UPI ID, place a scan-to-pay code on PDF and thermal invoices, understand the amount it requests and verify every payment before closing the sale.
Quick answer
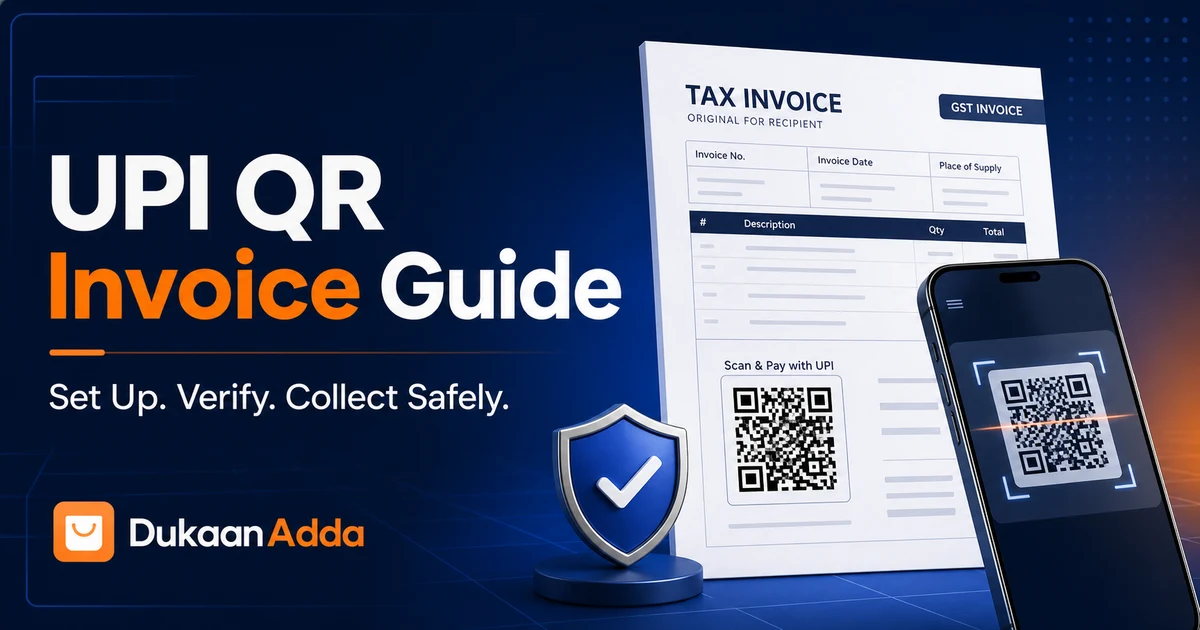
In DukaanAdda, save a verified UPI ID under Payment Settings, enable Show Barcode / QR Code in Invoice Settings and finalize a new invoice. The QR contains your UPI ID, business name, the invoice grand total in INR and the invoice number as a note. Ask the customer to verify the payee and amount in their UPI app, then confirm the credit in your own bank or merchant app before marking the payment complete.
The current QR requests the full invoice total
Core concept
Understand how a DukaanAdda invoice UPI QR works
An invoice QR in DukaanAdda is a payment instruction. It turns selected invoice and business details into a UPI payment URI that a compatible app can read. The customer scans the code, reviews the receiver and amount, chooses a bank account and authorizes the payment inside their UPI app.
Configure
Save your verified UPI ID.
Generate
Finalize an invoice with QR enabled.
Customer scans
The payer checks receiver and amount.
You verify
Confirm credit in your trusted app.
DukaanAdda does not move or settle the money. The customer authorizes the transfer through their UPI provider, and the funds go to the account attached to the UPI ID you configured. Selecting UPI as the payment mode in a bill is bookkeeping; it is not proof that the bank transfer succeeded.
Before configuration
Prepare and independently verify your UPI ID
Use a UPI ID controlled by the business owner or an authorized business account. Copy it from your trusted bank or merchant UPI app instead of relying on an old poster, message or screenshot. A single typing mistake can direct customers to the wrong receiver or make the QR unusable.
- Confirm the UPI ID character by character, including the handle after @.
- Check which bank account or merchant profile receives funds for that UPI ID.
- Make sure the displayed receiver name is recognizable to customers.
- Run a small controlled test from another trusted account before live billing.
- Verify the test credit from the receiving account, not only from the payer's screen.
- Restrict Payment Settings access to responsible staff.
DukaanAdda's form checks whether the text looks like a UPI ID: it expects one @, a valid-looking username and a recognized or common handle pattern. This validation catches many typing errors, but it cannot prove that the address exists, belongs to your business or is currently reachable. An unfamiliar legitimate handle may also need manual review.
Never share a UPI PIN, OTP or app passcode
Step-by-step setup
Save the UPI ID in DukaanAdda Payment Settings
- 1
Open Payment Settings
Sign in with the correct business and open Settings, then choose Payment Settings. Saving this screen requires an internet connection. - 2
Enter or scan the UPI ID
Type the verified UPI ID manually. On the supported mobile flow, you can scan an existing UPI payment QR; DukaanAdda reads the payee address from aupi://payQR and places it in the field. On Windows, use manual entry. - 3
Review the extracted value
A successful scan only extracts the payee address. It does not verify the bank account owner, receiver name or live reachability. Compare the result with your bank or merchant app before saving. - 4
Add optional bank details
Bank name, account number and IFSC can be stored as additional payment information. Keep them accurate, but remember that the invoice UPI QR itself is built from the UPI ID. - 5
Save and run a test
Save Payment Settings, create a low-risk test invoice and scan its QR using a different trusted device. Confirm the receiver, amount and final credit.
Camera scanning on Android or iOS needs camera permission. The scanner provides a torch and camera switch when supported. If permission is denied or the label is unclear, use manual entry rather than repeatedly scanning an uncertain code.
Document display
Enable the QR code in Invoice Settings
Open Settings, choose Invoice Settings and enable Show Barcode / QR Code. This preference controls whether the payment QR is displayed on supported invoice outputs. The default setting may already be enabled, but you should still inspect the final document.
QR toggle enabled
DukaanAdda can build payment QR data when a usable UPI ID exists and include it in the invoice output.
Toggle alone is not enough
An empty or invalid UPI ID means there is no safe payee instruction to encode, so the QR may be missing.
If your invoice is already finalized, do not assume that changing the display preference or UPI ID will rewrite the stored QR data on that old bill. Test with a new invoice and audit any document you intend to resend.
Technical clarity
Know exactly what the generated QR contains
DukaanAdda builds a standard UPI-style payment link beginning with upi://pay. The following fields are included in the current implementation:
paPayee addressYour saved UPI IDpnPayee nameYour business name, or DukaanAdda as fallbackamAmountInvoice grand total with two decimal placescuCurrencyINRtnTransaction noteInvoice followed by the invoice numberNPCI's UPI FAQ explains that QR-based merchant integration can store merchant information such as the UPI ID and amount so the payer can review merchant information on the payment page. The payer should use that review screen: compare the displayed receiver and amount with the invoice before authorizing.
INR is hardcoded in the current payment URI
cu=INR. Do not present this QR as the authoritative payment instruction for a non-INR invoice.Pre-share inspection
Create a test invoice and inspect it before sending
- 1
Create a low-value test bill
Use a recognizable customer or internal test record and clearly label it so it cannot be mistaken for a live unpaid sale. - 2
Review the invoice total
Confirm item quantities, discount, tax, round-off and grand total before finalization. That grand total is the amount the QR will request. - 3
Finalize and open the output
Inspect the PDF and, if used at your counter, the thermal preview. Look for a readable QR and the expected payment label. - 4
Scan from a separate trusted phone
Confirm that the UPI app shows your intended receiver, the exact total and a recognizable invoice reference. - 5
Verify a controlled payment
If you make a small test payment, confirm its credit from the receiving bank or merchant app and retain the transaction reference for your setup record.
Repeat this check after changing the UPI ID, business name, invoice template, thermal printer settings or receipt width. A technically valid QR is useful only when it remains scannable and points to the right receiver.
Invoice outputs
Understand PDF and thermal receipt QR behaviour
PDF invoice
The payment block is labelled UPI Scan & Pay. Under the QR, the invoice prints a payable value based on the grand total. The PDF builder prefers QR data already stored on the finalized bill.
Thermal receipt
When Show QR Code is enabled and valid payment data exists, the thermal generator can print the QR. If raster QR rendering fails, it may fall back to printing the UPI ID as text.
Narrow paper, low print density, dirty print heads, faded rolls or aggressive scaling can reduce scan reliability. Print a test from the actual counter printer, scan it from normal customer distance and keep the UPI ID visible as a manual fallback when possible.
For printer connection, paper size and ESC/POS troubleshooting, follow the DukaanAdda thermal printer setup guide.
Critical limitation
The QR encodes grand total—not the current outstanding due
The current invoice payment QR uses the bill's full grand total. It does not recalculate its amount from the current due balance, payment status or the payment mode selected during billing.
Example: a partially paid invoice
Invoice total
₹10,000
Already received
₹4,000
Actual balance
₹6,000
The invoice QR can still request ₹10,000 because it uses the original grand total—not the ₹6,000 balance. Tell the customer the amount to pay and have them edit or use a direct UPI payment flow only if their app permits it safely. Confirm the receiver and final amount before authorization.
The same caution applies to invoices marked Cash, fully paid bills and documents resent later: a QR can remain visible even though no UPI payment is currently due. Payment status and QR availability are separate concepts.
Payment safety
Confirm every UPI payment from your own trusted source
The most important counter rule is simple: a customer-facing success screen is not your settlement record. Before releasing goods or closing a high-value sale, check the receiving side.
- 1
Ask the customer to verify before paying
Their UPI app should show the expected receiver name, invoice amount and payment purpose. If the receiver looks unfamiliar, stop and inspect your configured UPI ID. - 2
Wait for the payer's final status
Do not treat a loading, processing, pending or collect-request screen as success. Ask the payer not to repeat the transaction until the first attempt has a clear status. - 3
Check your bank or merchant UPI app
Verify the incoming credit in the receiving account you control. Match the amount and, when available, the transaction reference, payer details and time. - 4
Record the payment accurately
Only after verification should you mark the invoice paid or record the received amount and payment mode in DukaanAdda. - 5
Keep an exception record
For pending, reversed, duplicate or mismatched payments, note the invoice number and transaction reference. Resolve it through the bank or UPI app instead of creating an informal cash adjustment.
A screenshot is not settlement
UPI PIN is for authorizing a debit
Payment states
Handle partial, due and already-paid invoices correctly
New invoice paid fully by UPI
Let the customer scan, verify receiver and full total, then confirm the incoming credit before recording UPI as the completed payment mode.
Partial payment at invoice creation
The visible QR can still request the full grand total. Clearly tell the customer the partial amount, confirm what they authorize and record only the amount actually received.
Later collection against outstanding due
Read the current ledger balance first. Do not assume the old invoice QR represents that balance. Confirm the amount independently and then record the receipt against the correct customer.
Invoice already paid by cash or another mode
Do not invite another scan merely because the document contains a QR. Mark and communicate that the invoice is paid, and avoid resending ambiguous payment instructions.
Customer pays more than the due amount
Do not silently reduce another bill. Verify the credit, document the overpayment and agree on a traceable refund or adjustment through your normal accounting process.
For customer credit controls, reminder etiquette and ledger review, use the Khata and Udhar management guide.
Account changes
Audit old invoices whenever you change the UPI ID
DukaanAdda can save QR payment data on the bill when the invoice is finalized. That stored data contains the payee address and original amount. When a PDF is rebuilt, existing bill QR data can be preferred over newly generated data.
Old documents may continue pointing to the old UPI ID
- Record the date and reason for the UPI destination change.
- Run a controlled test on a newly created invoice.
- Scan recent old invoices to identify embedded legacy payment details.
- Replace printed counter signs and saved message templates.
- Tell staff which account is now authoritative.
- Keep the old receiving account monitored during a reasonable transition.
Daily operations
Use a repeatable UPI payment workflow at the counter
Before opening
- Check receiving account access
- Scan one test invoice QR
- Confirm printer readability
During payment
- State the exact amount
- Ask customer to verify payee
- Confirm credit on your side
At closing
- Review pending exceptions
- Match recorded UPI receipts
- Investigate duplicates
Train staff on one spoken confirmation: “Please check the shop name and amount before paying.” After the payer finishes, the staff member checks the merchant-side credit and says whether the payment is confirmed, pending or not received. This small script reduces both accidental wrong-payee payments and fake screenshot disputes.
Pair this routine with the fast billing counter workflow so speed never replaces the final amount and payment check.
Problem solving
Fix common UPI QR invoice problems
QR is missing from the invoice
Save a valid UPI ID, enable Show Barcode / QR Code, finalize a new invoice and inspect the output again. The display setting cannot create a QR without payment data.
UPI ID is rejected while saving
Check for exactly one @, remove spaces and compare the handle with the UPI ID shown in your trusted bank or merchant app. Contact DukaanAdda support if a legitimate uncommon handle is rejected.
Scanned QR shows the wrong receiver
Stop accepting payments immediately. Recheck Payment Settings, confirm account ownership and audit recently shared invoices for stored old QR data.
Customer sees the wrong amount
Compare it with the invoice grand total. For partial or later due collection, remember the current QR is not based on outstanding balance.
Thermal QR will not scan
Clean the print head, use fresh paper, increase print quality, avoid shrinking and test the correct paper width. Use the printed UPI ID as a manual fallback.
Payment is pending
Do not ask the customer to pay again immediately. Check both apps, retain the transaction reference and follow the bank or UPI app's pending-transaction process.
Screenshot says paid but no credit appears
Treat the sale as unconfirmed. Match the transaction in your own receiving account; do not release goods solely on the screenshot.
Old invoice still shows old UPI ID
The finalized bill may contain stored QR payment data. Avoid resending it as a current payment instruction and issue a clearly controlled replacement when appropriate.
Current product scope
Understand what the invoice QR does—and does not do
DukaanAdda is not the payment processor
No automatic outstanding-balance QR
No automatic payment-to-invoice reconciliation
Existing invoices can preserve old payment data
The generated UPI instruction is INR-oriented
A UPI QR also does not replace GST invoice requirements. For mandatory fields, tax calculation, HSN/SAC and compliance basics, read the complete GST invoicing guide.
Official UPI safety references
For customer education and current platform guidance, use primary sources. NPCI explains UPI, merchant QR payments and UPI PIN safety; RBI's awareness material warns against entering a PIN or OTP to receive money.
FAQ
Frequently asked questions about UPI QR invoice payments
How do I add a UPI QR code to a DukaanAdda invoice?
Open Settings, save your UPI ID in Payment Settings, then open Invoice Settings and enable Show Barcode / QR Code. Finalize a new invoice and inspect its PDF or print preview before sharing it.
What information does the DukaanAdda invoice QR contain?
The generated UPI payment URI contains the configured payee UPI ID, business name, invoice grand total, INR currency code and a note containing the invoice number.
Does the QR request the remaining due amount?
No. The current QR is generated with the invoice grand total. It does not automatically switch to the remaining due amount after a partial payment, so both merchant and customer must verify the amount before paying.
Does DukaanAdda confirm that a UPI payment reached my bank?
No. DukaanAdda generates the payment instruction and records the payment mode you select, but it is not a payment gateway, bank or settlement service. Verify receipt in your merchant UPI app, bank app or account statement.
Is a customer's payment screenshot enough proof?
No. Screenshots can be edited, delayed or show a payment that did not settle to your account. Match the amount, receiver, status and transaction reference against your own trusted bank or merchant app.
Do I need to enter a UPI PIN or OTP to receive an invoice payment?
No. RBI and NPCI safety guidance says a PIN or OTP is not required to receive money. A UPI PIN authorizes a debit from the account whose app is being used; never disclose it to a customer or caller.
Can I scan my existing UPI QR while setting up DukaanAdda?
On supported Android and iOS mobile flows, Payment Settings can scan a UPI payment QR and extract its payee address. You should still verify the extracted UPI ID and run a small controlled test. On Windows, enter the UPI ID manually.
Will changing my UPI ID update QR codes on old invoices?
Do not assume it will. Finalized bills can retain stored QR payment data containing the UPI ID and original total from creation time. Audit old PDFs and receipts after changing the payment destination.
Why is the QR missing even after I enabled the setting?
The display toggle alone is not enough. A valid non-empty UPI ID must be saved, the invoice must be finalized with QR display enabled and the chosen document or thermal layout must have space to render the code.
Can I use the invoice QR for a non-INR invoice?
The current DukaanAdda UPI payload sets the currency to INR. Treat it as an INR payment instruction and do not use it as the authoritative payment method for invoices denominated in another currency.
Does the invoice QR make an invoice GST-compliant?
No. A UPI QR is a payment convenience. GST invoice compliance depends on the supplier, customer, document, item, tax and other required particulars—not on the presence of a payment QR.
Scan-to-pay with control
Make payment convenient—then verify it properly
Configure the correct UPI ID, inspect every invoice, state the amount clearly and use your own receiving account as the final proof of payment.