
Complete Thermal Printer Setup Guide for DukaanAdda
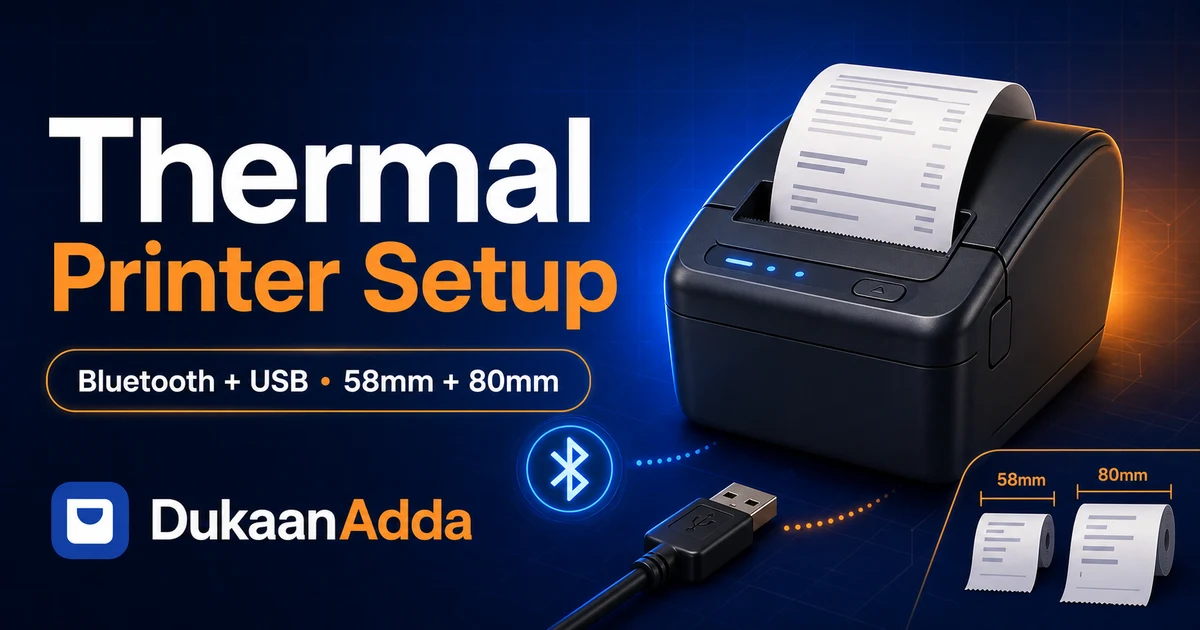
Connect a compatible 58mm or 80mm ESC/POS printer through Bluetooth or USB, run a reliable test print, configure the receipt and solve the most common setup problems.
Quick answer
Open Settings → Printer Connection, select Bluetooth or USB, connect the detected printer and run Print Test. Then open a saved invoice, choose Print Invoice → Thermal Print Preview, select the correct 58mm or 80mm layout and tap Print Now.
Compatibility comes before connection
Start here
Check thermal printer compatibility before setup
DukaanAdda builds a receipt as ESC/POS command data and sends it to the connected printer. This is different from sending a normal A4 document through a generic system print dialog. The printer needs to understand the receipt commands used for text, rows, raster images, QR codes, paper feed and partial cut.
Good compatibility signs
- ESC/POS command support
- Bluetooth Classic or SPP mode
- USB printer or vendor-specific bulk output
- 58mm or 80mm roll support
Models that need extra checking
- Bluetooth Low Energy-only printers
- Proprietary label-printer protocols
- Cloud-only or Wi-Fi-only receipt printers
- Printers that require a brand-specific mobile app
A familiar brand name is not enough. Two printers from the same manufacturer can expose different Bluetooth modes or firmware. Ask the seller for the ESC/POS command set, Bluetooth Classic support and return policy. A live sample print is the strongest compatibility check.
Paper selection
Choose the correct 58mm or 80mm receipt layout
Paper width affects every row of the invoice. Selecting the wrong width can make product names wrap badly, amounts appear cramped or the receipt use only part of the roll.
| Decision | 58mm | 80mm |
|---|---|---|
| Best fit | Compact counters and short bills | Long names and easier scanning |
| Receipt rule width | 32 characters | 48 characters |
| Item layout | More wrapping, smaller table font | More room for columns |
| Typical trade-off | Lower paper use, tighter layout | Clearer layout, wider hardware |
Measure the roll, not the printer body
Preparation
Prepare the printer, device and invoice data
- Printer is powered on, charged or connected to stable power.
- Correct 58mm or 80mm thermal paper is loaded in the right direction.
- Printer supports ESC/POS-style receipt commands.
- Bluetooth Classic/SPP or a compatible USB path is available.
- Android permissions or the Windows printer driver are ready.
- A small test roll is available before live counter billing begins.
Also complete the DukaanAdda business profile before printing a customer receipt. Business name, address, phone and GSTIN are drawn from that profile. A logo is optional. A payment QR needs bill QR data or a valid UPI ID in the profile.
Create one low-value sample invoice with a long product name, two quantities, a discount and a payment mode. This reveals wrapping, spacing and totals more effectively than an empty connection test.
Connection method 1
Set up a Bluetooth thermal printer on Android
- 1
Turn on and prepare the printer
Keep the printer close to the phone. Enable its Bluetooth mode and make sure it is not actively connected to another phone or billing device. - 2
Pair it in Android settings if needed
Many Bluetooth Classic printers use a PIN such as the one printed in their manual or label. Pairing once in system Bluetooth settings helps when in-app discovery sees the printer but cannot connect as an unpaired device. - 3
Allow the correct permission
On Android 12 or newer, allow Nearby Devices so DukaanAdda can scan and connect. On Android 11 or older, allow the requested location permission used by legacy Bluetooth discovery. - 4
Connect from Printer Connection
In DukaanAdda, open Settings → Printer Connection, select Bluetooth, tap Scan Again, choose the printer and tap Connect. Wait for the green connected status before printing.
Bluetooth Classic is the important detail
Connection method 2
Set up a Bluetooth thermal printer on Windows
Windows Bluetooth printing follows the same basic sequence: power on, pair or discover, connect and test. DukaanAdda's Windows connection uses an RFCOMM socket, the serial-style channel commonly associated with Bluetooth Classic printer modules.
- Turn on Bluetooth in Windows Settings.
- Add or pair the printer if it is not already known.
- Open DukaanAdda → Settings → Printer Connection and keep Bluetooth selected.
- Run Scan Again, select the matching address and connect.
- Send the short test receipt before opening live billing.
If connection fails, remove an old pairing, restart the printer and pair again. Close vendor utilities or other billing apps that may already hold the printer's serial channel.
Connection method 3
Set up a USB thermal printer on Android with OTG
USB printing is useful when Bluetooth is crowded or unavailable. The phone or tablet must support USB Host mode, and the cable path must allow data—not only charging.
- 1
Use the correct OTG adapter
Match USB-C or Micro-USB on the Android device to the printer's USB data cable. Powered hubs can help when the phone cannot supply stable power, but the printer should normally use its own power adapter. - 2
Select USB in DukaanAdda
Open Printer Connection and choose USB. Wi-Fi is a separate coming-soon option and should not be selected for this setup. - 3
Refresh and approve access
Connect and power on the printer, then tap Refresh USB. Select the detected device and approve the Android USB permission prompt when it appears. - 4
Test the output endpoint
DukaanAdda needs a compatible bulk output endpoint. If the device is detected but cannot connect, the hardware may not expose a supported printer or vendor-specific output interface.
A charge-only adapter, loose cable or non-host Android device produces the same symptom: no printer appears. Test the OTG adapter with another data device before assuming the printer is faulty.
Connection method 4
Set up a USB thermal printer on Windows
On Windows, DukaanAdda looks for installed USB printer queues and writes the ESC/POS receipt as raw data through the selected queue. Windows therefore needs to recognise the printer first.
Windows preparation
- Install the manufacturer's correct driver.
- Confirm the printer queue is visible in Windows.
- Clear Paused or Offline state.
- Use the USB port connected to that queue.
DukaanAdda steps
- Select USB under Printer Connection.
- Tap Refresh USB.
- Choose the installed printer queue.
- Connect and run Print Test.
A successful Windows test page from the driver does not prove ESC/POS compatibility; it only proves the driver can print. DukaanAdda's own test receipt confirms the raw receipt path.
Inside DukaanAdda
Understand the Printer Connection screen
Bluetooth
Working now on supported Android and Windows devices.
USB
Working now with Android USB Host or a Windows printer queue.
Wi-Fi
Visible as coming soon and not a working print path yet.
The screen shows the current connection status, interface readiness, available devices, a setup guide and a Test Print action. Connecting stores the last selected connection type and printer identity locally. That helps the app remember your choice, but a restarted printer or device may still need a new connection.
Only one active connection type
First verification
Run a test receipt before printing a real bill
Once the Connected badge appears, tap Print Test. DukaanAdda sends a short ESC/POS receipt containing the app name, printer name, paper label, timestamp and a confirmation line. This verifies that bytes can reach the printer and produce readable text.
What the test does—and does not prove
It proves basic connection and text output. It does not fully test a long invoice, logo, payment QR, multi-copy output or the actual 80mm layout.
The current connection-screen test uses 58mm settings. On an 80mm printer it may occupy only part of the roll; that is expected. Confirm the real 80mm layout from Thermal Print Preview with a sample invoice.
Billing workflow
Print an invoice from DukaanAdda
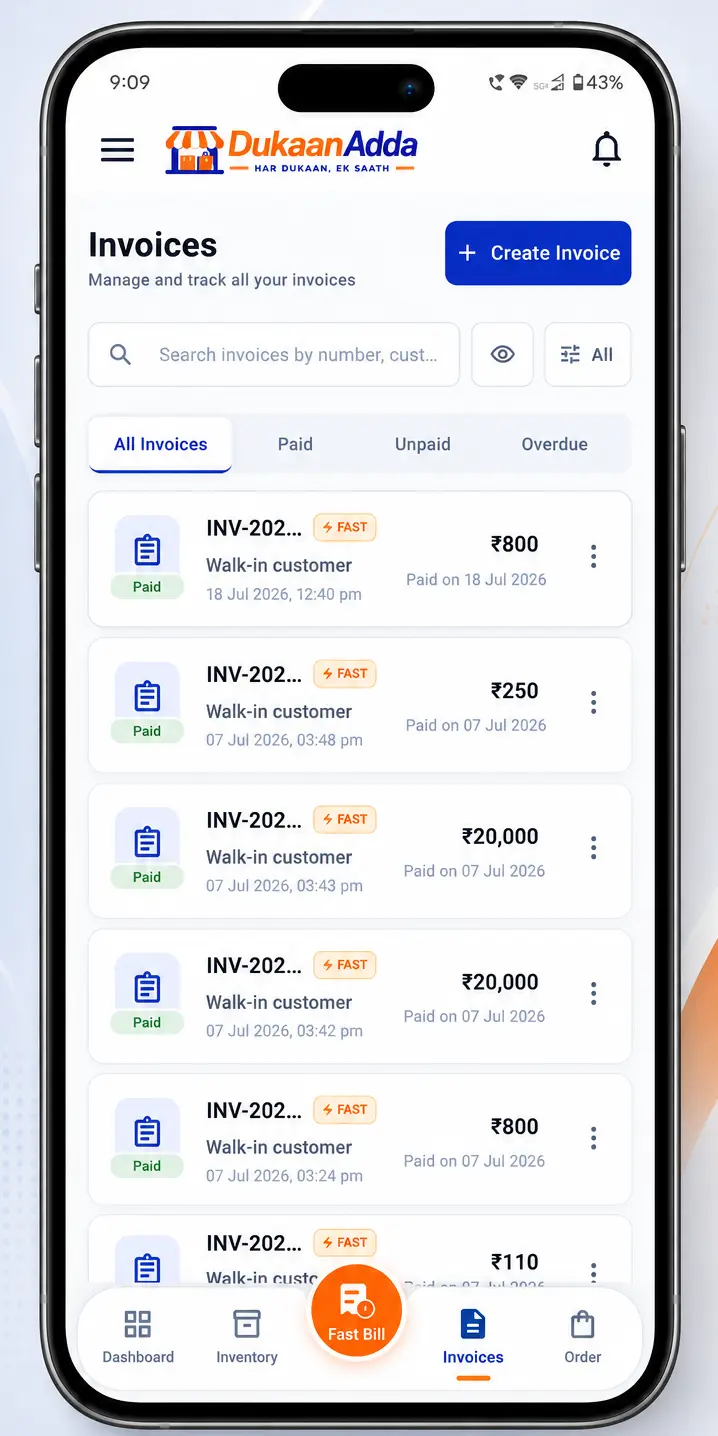
There are two convenient entry points. In Fast Bill, Save & Print saves the bill and opens the thermal preview. For an existing invoice, open the bill, choose Print Invoice and select Thermal Print Preview. The separate Print option is for the A4 invoice workflow.
- 1
Review the saved invoice
Confirm customer, products, quantities, payment mode, tax, discount, extra charges, round-off, paid amount and due amount before generating the receipt. - 2
Open Thermal Print Preview
Use the preview to inspect wrapping and totals. Open Settings from the preview if the connected printer or paper width is wrong. - 3
Apply receipt preferences
Select 58mm or 80mm, copies, density, alignment and whether to show the logo, QR code and divider lines. - 4
Tap Print Now
The button sends the receipt to the connected Bluetooth or USB printer. Wait for the success message before repeating the action to avoid duplicate copies.
Existing invoices
Reprint from a saved invoice when needed
Open the invoice, enter the thermal preview, verify the selected printer and print again. Reprinting does not require creating a second sale.
Receipt controls
Configure every thermal receipt setting correctly
| Setting | Options | How to use it |
|---|---|---|
| Paper size | 58mm / 80mm | Match the physical roll and printable width. |
| Copies | 1 to 10 | Use only the required number to prevent duplicate handover. |
| Density | Light / Medium / Dark | Adjust the generated text style when output looks too light or heavy. |
| Alignment | Left / Center | Controls the alignment of normal receipt text. |
| Show Logo | On / Off | Disable if the monochrome logo is slow or unclear. |
| Show QR Code | On / Off | Also requires valid bill QR data or a configured UPI ID. |
| Show Divider | On / Off | Adds or removes separator lines in the receipt. |
DukaanAdda saves these thermal preferences locally, so the next preview can restore them. Recheck paper size when moving between printers. A saved 58mm preference on an 80mm counter—or the reverse—can make an otherwise healthy printer look faulty.
Printed information
Know what appears on the thermal invoice
The receipt generator recalculates the saved bill before printing and can include the following information:
Business header
Logo when enabled, business name, address, phone and GSTIN when available.
Invoice identity
Invoice number, date, time, copy number, customer name and customer phone.
Items and totals
Product, quantity, price, amount, subtotal, discount, taxable amount, tax, charges, round-off and total.
Payment details
Payment method, paid and due values, plus a payment QR when valid data exists.
A printed UPI QR is not payment confirmation
Problem solving
Fix common thermal printer setup problems
Bluetooth printer is not found
Turn on Bluetooth and the printer, grant Nearby Devices or legacy location permission, move the printer closer, pair it once in system settings, then run Scan Again.
Printer appears but will not connect
Disconnect it from other phones, confirm Bluetooth Classic/SPP support, remove stale pairing, restart both devices and reconnect.
USB printer is not detected on Android
Confirm USB Host support, use a data-capable OTG adapter, power the printer separately, reconnect the cable and tap Refresh USB.
USB access was denied
Reconnect, tap Connect and approve the Android USB permission prompt. If the prompt never appears, unplug and reattach the device.
Windows USB printer is missing
Install the driver, verify the USB printer queue exists, clear paused or offline status, then refresh inside DukaanAdda.
Printer connects but nothing prints
Run Print Test, confirm ESC/POS mode, close other apps using the printer and check that the selected interface matches the connected device.
Blank receipt feeds out
Turn the thermal roll over so the coated side faces the print head. Scratch both sides lightly; the side that darkens is the thermal side.
Amounts or names wrap badly
Select the physical paper width, try the 80mm layout for long product names and review the preview before sending the job.
Logo is faint or slow
Use a high-contrast logo with simple shapes. Thermal output is monochrome; disable Show Logo if the printer has limited image support.
QR code does not appear
Enable Show QR Code and configure a valid UPI ID or bill QR payload. Long or invalid QR data may not fit the thermal format.
Receipt prints twice
Check the Copies setting and wait for the success message before tapping Print Now again.
Paper does not cut
Some printers do not include an auto-cutter or ignore the partial-cut command. Tear the receipt manually when the hardware lacks cutter support.
Counter routine
Use a daily thermal-printer readiness checklist
Before opening
- Power and paper checked
- Correct connection selected
- One test receipt printed
During billing
- Wait for print success
- Verify totals and QR
- Avoid repeated Print Now taps
At closing
- Clear paper scraps
- Check remaining roll
- Disconnect shared devices safely
Keep one spare roll and a known-good cable at the counter. Clean the print head only according to the printer manufacturer's instructions and after the printer has cooled. A regular test receipt catches low paper, lost pairing and offline queues before the first customer is waiting.
Current product scope
Understand the current thermal-printing limitations
Wi-Fi printing is not active
Not every detected printer is compatible
WhatsApp thermal-image sharing is Android-only
If a printer relies on proprietary commands, a vendor SDK, cloud pairing or BLE-only communication, request confirmed support before treating it as compatible. For a new hardware purchase, test one unit with a real DukaanAdda invoice first.
FAQ
Frequently asked questions about thermal printer setup
Which thermal printers work with DukaanAdda?
DukaanAdda sends ESC/POS receipt data through Bluetooth Classic or USB on supported Android and Windows devices. Compatibility still depends on the printer model, connection mode, firmware and command support, so use the in-app test print before relying on a printer at the billing counter.
Does DukaanAdda support Bluetooth Low Energy printers?
The current Bluetooth path uses Bluetooth Classic communication, including RFCOMM on Windows. A printer that offers only Bluetooth Low Energy may not work. Check the printer specification for Bluetooth Classic, SPP or ESC/POS support.
Should I select 58mm or 80mm paper?
Select the size that matches the paper roll and printable width of your printer. A 58mm layout is compact and uses 32-character rule lines, while the 80mm layout provides more space and uses 48-character rule lines for the receipt structure.
Which Android permissions are required for Bluetooth printing?
Android 12 and newer require Nearby Devices permissions for Bluetooth scan and connection. Android 11 and older may require location permission because the older Bluetooth discovery API is tied to location access.
Can I connect a USB printer to an Android phone?
Yes, when the Android device supports USB Host mode and you have the correct OTG adapter or cable. The printer must expose a compatible bulk output endpoint, and you must approve the USB access prompt when connecting.
What is required for USB thermal printing on Windows?
Install the printer correctly in Windows so an available USB printer queue exists. DukaanAdda sends raw receipt data through that queue, so the printer should be online, not paused, loaded with paper and compatible with ESC/POS data.
Why does the connection-screen test receipt look narrow on an 80mm printer?
The current quick Test Print on the Printer Connection screen uses a short 58mm test receipt. It confirms the connection and ESC/POS output. Select 80mm later in Thermal Print Preview before printing the real invoice.
Why is the UPI QR code missing from my thermal receipt?
The Show QR Code switch only permits a QR code to print. DukaanAdda also needs valid payment QR data on the bill or a valid UPI ID in the business profile. A printed QR does not confirm payment; always verify the transaction in your bank or UPI app.
Can I save a thermal receipt without a physical printer?
Yes. Thermal Print Preview includes Save as PDF, Update PDF and Open PDF actions. On Android, the preview can also be shared as a thermal receipt image through WhatsApp.
Does DukaanAdda support Wi-Fi thermal printers?
Not through the current direct thermal-print connection screen. Wi-Fi is marked as coming soon; Bluetooth and USB are the working connection types in the current implementation.
What should I do if the printer connects but prints blank or unreadable output?
Confirm the printer is in ESC/POS mode, the correct roll is loaded with the thermal side facing the print head, and the selected paper width matches. Try the in-app test receipt, then use a different density setting. A proprietary or non-ESC/POS model may require a different driver or may not be compatible.
Ready to print
Create the bill, preview the receipt and print confidently
DukaanAdda connects billing, saved invoices, 58mm/80mm thermal layouts, PDFs and supported Bluetooth or USB printers in one workflow.